
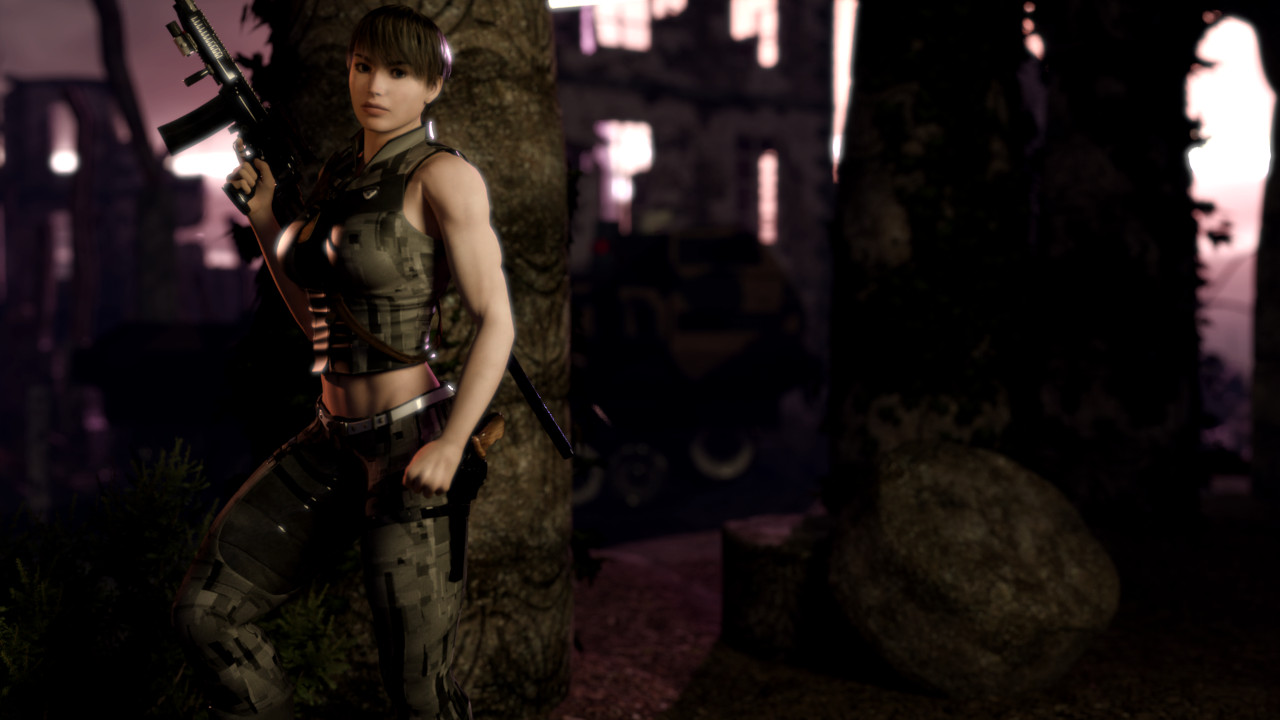
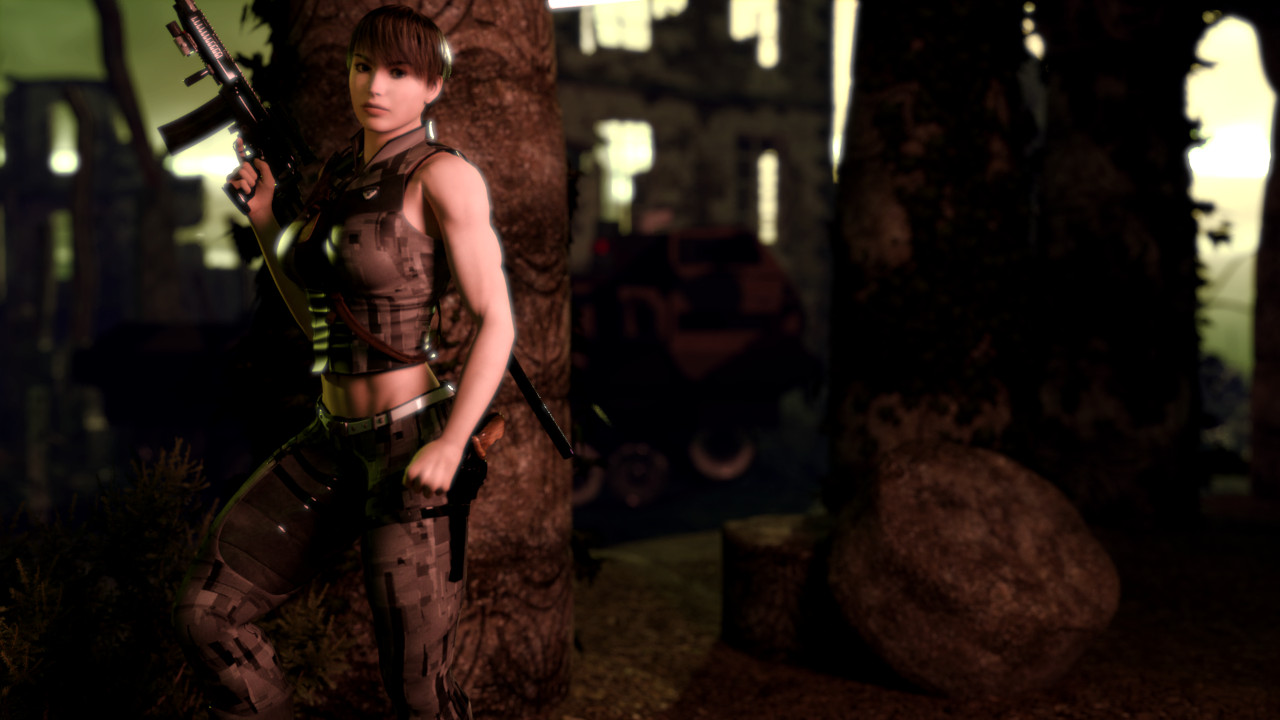
In my last post, I explained how my ascent up the learning curve has me traveling through the creative use of lighting to improve the quality of renders. I decided to try lighting one scene with various different lighting schemes. The first is a render that uses a lighting scheme with colors and intensities I’ve been working to establish for the world of our “SciFi Girl” soldier. Sticking with consistent colors and lighting helps in world-building to set a tone and style. I started with the very first scene I built for SciFi Girl and tweaked it a bit to match some of the other scenes I’m building.
First, here’s the original build of the SciFi girl scene for reference. This was her initial build and I’ve tweaked her somewhat since then. For those who are curious, she is based on the Victoria 4.2 model with the “Vanilla Sky” morphs applied.

I decided to play around with the light colors in this scene just to experiment and gauge what sort of impact they would have on the final render. So I tossed SciFi Girl into the middle of a rad-storm in the Fallout 4 world. I was surprised by the striking outcome.
Finally, just to illustrate the lighting setup and how each plays its part in illuminating the models, here’s a render using a garish lighting scheme. It’s ugly but does a good job showing how each light affects the scene. The HDRI was tinted hot pink and the three lights were colored cyan, green, and red. Can you spot where each of them plays a part in helping to bring SciFi Girl to life?

